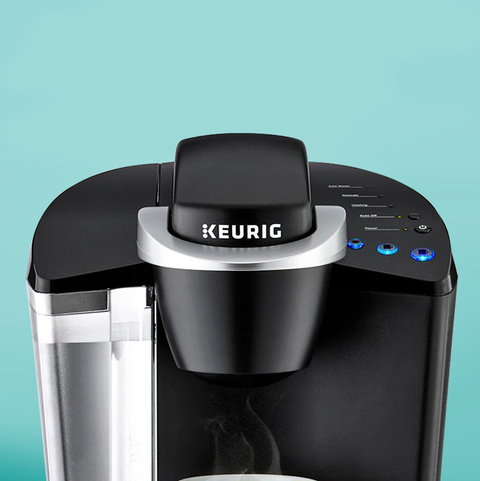
Keurig coffee makers are a joy to have in the kitchen, but the question is: are you taking care of them properly? If you’re not, pause brewing that next cup right away. Your machine could be racking up dirt and old oils and pumping not just coffee into your mug but also bacteria that could alter the taste and flavor of your favorite brew.
In this guide, you’ll find a slew of helpful cleaning tips that will not only keep your Keurig coffee makers spotless but also allow you to brew the freshest and most delicious-tasting coffee consistently.
How Often Should You Clean Your Keurig
Keurig maintenance works a little bit differently for each of its parts. The exterior of the machine, for instance, should be cleaned once a week, or more frequently if things get out of hand. Also, don’t wait until the drip tray gets filled to the brink before emptying it; make sure to drain those spills after every use.
As for the pod holder and water reservoir, they should be cleaned every week. Then, you have descaling, which is one of the most important parts of the cleaning and maintenance process. This involves removing and disposing of scale or mineral buildup every three to six months, depending on your usage.
Keurig coffee makers usually have a “descale” light that activates whenever its time for you to engage in the process, but you should be able to tell either way. It’s also important not to forget filter replacement, which, by expert recommendation, should take place every two months.
How It’s Done
So, on to the actual cleaning part. Here’s a compilation of tips on how to approach each step of the cleaning process.
Step 1: Washing and Wiping
The first step to cleaning is to unplug your machine. This helps prevent electrocution and lowers the risk of electronic damage.
Next, detach all removable components, such as the water reservoir, K-Cup holder, and drip tray. Place all these parts in the sink and wash thoroughly with soapy water as if doing regular dishes. Then, set these items aside while you get to work on the other components.
When wiping the exterior of your Keurig coffee maker, use either a wet paper towel or washcloth. You’ll want to do this more often in busy settings where your machine is more prone to collect dust, dirt, and grime.
Step 2: Taking Care of the Crevices
You’ll want to reach into those crevices and really give your machine a thorough cleaning. Prepare a toothbrush and paperclip for this more detailed cleaning process, which involves getting rid of the grit and grime buildup.
When dirt starts getting into those hard-to-reach areas of your Keurig, it can affect the purity of the water as well as the taste of your coffee.
Begin by cleaning the section that houses the K-Cup holder since this part tends to collect coffee grounds and grit. Make sure not to leave out the deep nooks when cleaning around this area, too.
The proper lighting should be able to help tell if there are some parts you missed cleaning, and water should do a great job of softening up those hardened buildups to make them easier to remove using the paperclip.
Step 3: The Miracle That Is Vinegar
Some parts of the Keurig are well out of your reach, making it almost impossible to do internal cleaning unless you actually dismantle the entire machine.
To clean the internal components of your Keurig coffee maker, you simply need to rely on the common kitchen vinegar. Place a half-and-half ratio of white vinegar to water in the machine’s water reservoir and fix it back into place. It’s time to brew some hot vinegar.
When running your Keurig, make sure settings are set on normal, and mugs are prepared for the solution. Place the mixture in the mugs until it’s all gone. The process can be a bit smelly, but it does a really good job of removing those scales.
The only time vinegar should be used in your Keurig is during descaling. After you’re done with the process, fill the reservoir up with only freshwater this time around to flush out the residual vinegar and get rid of the smell. Once the smell is gone, you should have a better performing Keurig with no scale problems.
Take note that Keurig also sells its own descaling solution in case you want to use a brand-name product. However, vinegar works just as well and is a lot cheaper.
Final Thoughts
Similar to any type of coffee-making machine, your Keurig coffee maker can only brew delicious coffee consistently when it’s cleaned properly. Cleaning is not only essential for creating great-tasting and bacteria-free coffee, but it’s also critical for maintaining your machine’s function and aesthetic appeal.
The cleaning process for Keurig coffee makers also varies depending on the model. If you’re interested in discovering more about a really popular model on the market today, check out the latest review.