
Why do you need to know how to install a touchless kitchen faucet? You can easily call a professional to come to install it for you. But that costs a lot of money and time. What if you don’t have the time during the day to book an appointment with an expert? The only time you get free is during the night, after work.
You need to know how to install a touchless kitchen faucet now more than ever. The steps are simple to follow. You don’t have to use too much of your mechanical skills. The greatest joy in life is often getting the smallest task done by yourself. And this is exactly the kind of ‘how-to’ you need.
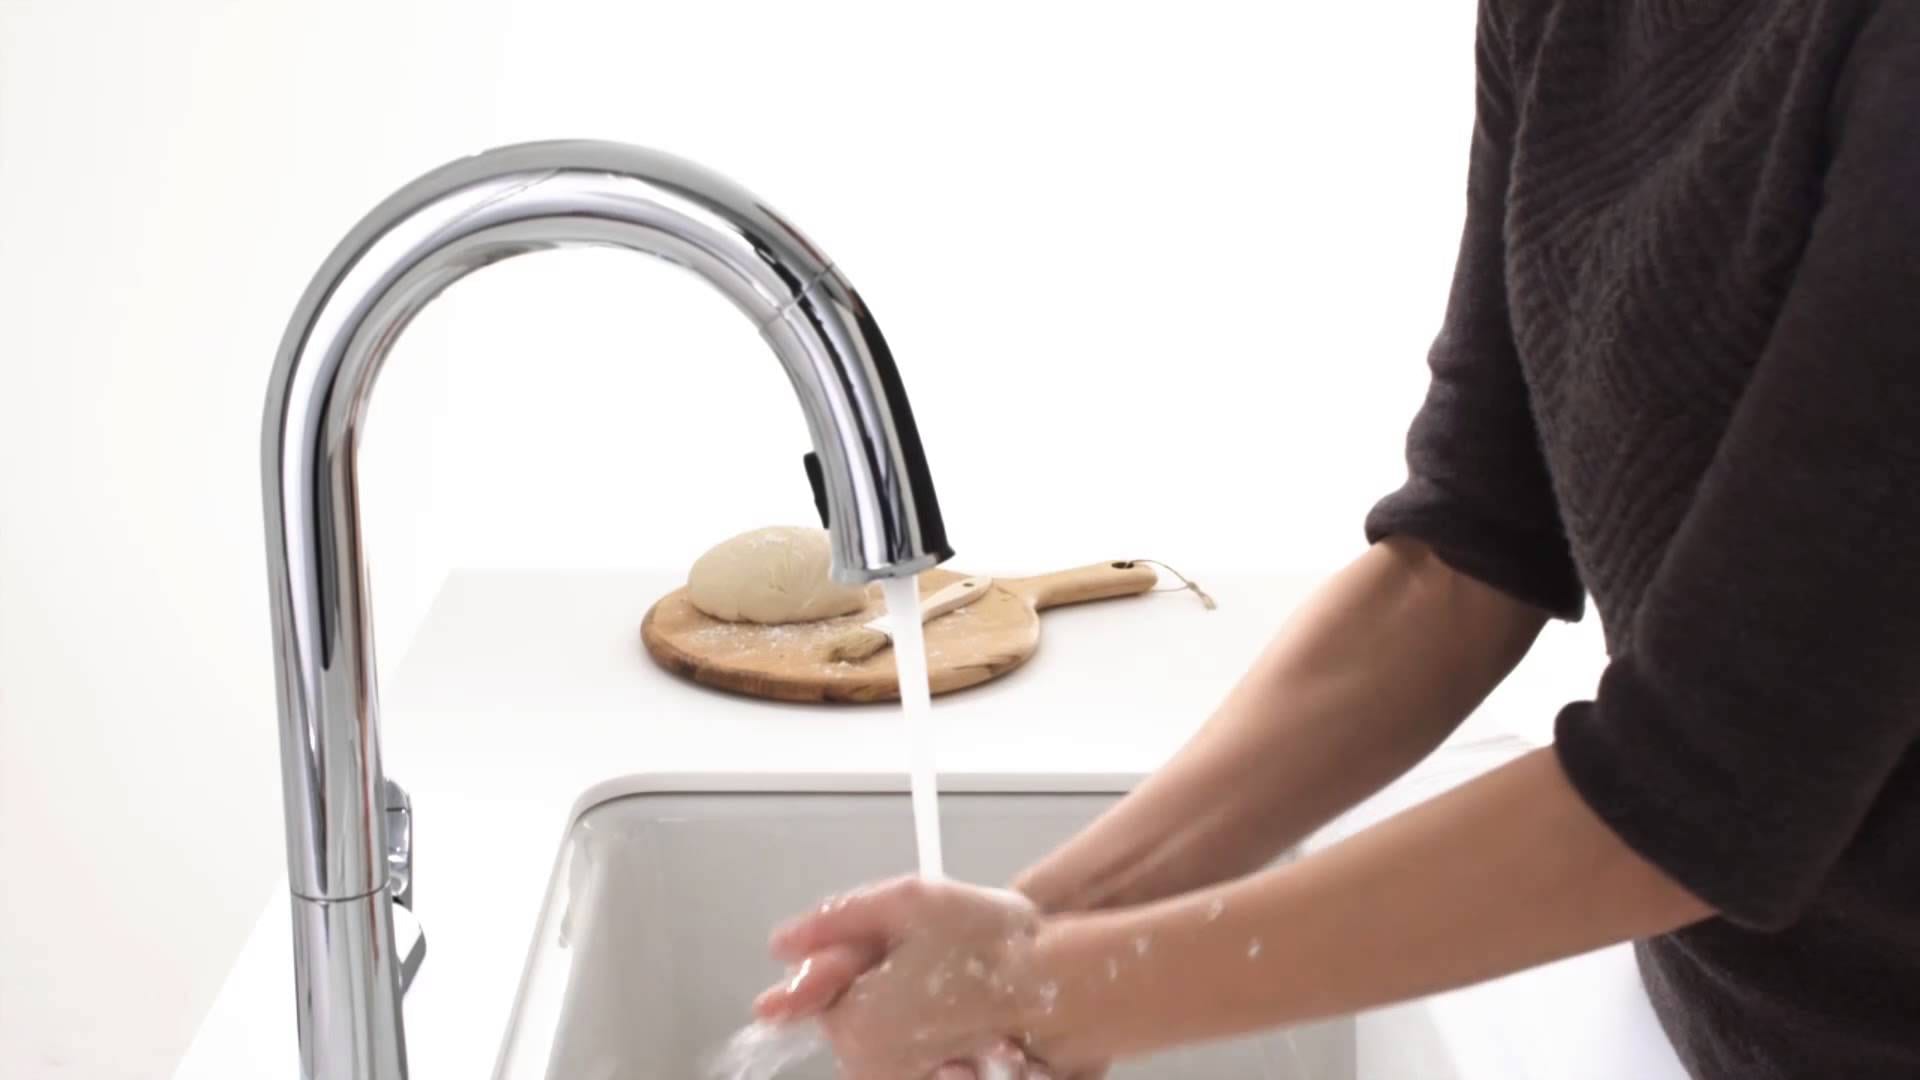
How to Install a Touchless Kitchen Faucet the Right Way
First things first, here’s what you need to get started.
- A high-quality touchless kitchen faucet. Make sure the faucet comes with its own installation hardware. In case it doesn’t, you can contact its customer care for more details.
- AA batteries.
- A drilling machine.
- 3/32 drilling bit.
- A screwdriver.
- An adjustable wrench.
- A measuring tape.
Step 1:
Position the faucet where you want it on the counter. This is after you’ve pulled the old faucet from the hole. Line and tube the data cable, hose, and shank. Make sure these go through the desk gasket.
This step helps you visualize how your faucet looks next to the sink. And you know what goes where. Once the cable, hose, and shank are through the gasket, line the faucet at the counter.
You need to pull the cable, hose, and shank through the mounting holes of the faucet.
The ideal placement for a faucet is when the tap is on the right side. And the faucet’s spout is right in front of you. With its nozzle directly on top of the sink.
Step 2:
The time has come to secure the faucet under the sink. Make sure the support plate is positioned over the cables. Followed by the mounting shank.
The data cable, hose, and shank needs to be aligned with the curve of the washer.
Secure each mounting screw (or nut) to the shank. With the help of the provided hardware, secure each mounting nut. The best way to make sure the bolts are tight is by tightening them through the mounting holes.
Step 3:
The hose bracket is what keeps the hose secure. Not only that, it makes sure there is a direct connection between the hose and faucet. To install the bracket, attach it about 2-2.5 inches from the bottom of the connecting hose.
Slowly slide the bracket from the end of the hose toward the faucet. You will find a small nut, generally known as the hose-guide nut. This nut prevents the bracket from sliding down the connecting hose.
A simple click sound should let you know when the bracket is connected. Attach the end of the hose to the faucet line.
Step 4:
Every touchless kitchen faucet comes with a control box. All the faucet’s pipes and tubes go through and connect to the control box. Make sure you remove all the protective caps from the hoses.
Fix the cold and hot-water supply to its respective lines. Make use of the adjustable wrench to secure each hoses’ connection.
Step 5:
With the help of a hose-guide nut, snap the control box in the cabinet base. Make the data cable and hose is within reach.
Step 6:
Connect the pull-down hose to the attach spray head. Detach the protective cover. And line the rubber washer with the screen. Connect the spray to the hose and tighten both in place. Use the adjustable wrench to do so.
Each pull-down hose has a white mark from where to attach the weight.
Step 7:
Keep all the wires within reach while installing the battery pack. You can place the battery pack on the wall next to the faucet. An adhesive tape or screws should do the trick.
Step 8:
The last thing left to do is plug in the cable into the control box. To make sure the cables don’t get tangled, use a zip tie. A clear blue light will indicate the proper functioning of the faucet.
Clean the area under the sink to make sure there’s no extra tape lying around. You should be able to turn the hot and water through the faucet.
Key Takeaway
Because a touchless kitchen faucet avoids human contact, it’s the most hygienic faucet to use. This motion-activated technology has a simple and easy installation process. So it’s no surprise that the process to install a touchless kitchen faucet is super easy!
It’s true that a touchless faucet has a different installation than traditional models. But that doesn’t make the faucet a bad choice. After reading this, you finally know how to install a touchless kitchen faucet.
About the author:
Jennifer Kessler likes to think of herself as a review expert and fun mommy influencer. She works toward extending her knowledge, expertise, and enthusiasm to the ever-growing blogging community. Every article Kessler creates has a mix of personal and professional. She might not have all the answers for pregnant women and mothers. But she definitely offers the best solutions for the most common ones.